You can find 5 YouTube videos on replacing your chassis battery, but they all leave out some super important details. I like to go all the way down the rabbit hole with everything, so I’ll share my experience.
First, only do this if you have the older chassis like mine!
Newer, like most German vehicles, have “adaptive charging” which gradually raises the voltage as the AGM battery ages. I found this out the hard way when I replaced my wife’s 2017 Mini Cooper battery.
Worked great, and then fried in 12 months. Thats because you have to go to the dealer and have them recalibrate the battery computer setting. Otherwise the higher voltage quickly ruins your new battery.
Anyway the 2018 does NOT have this feature. So battery replacement is a simple drop in experience.
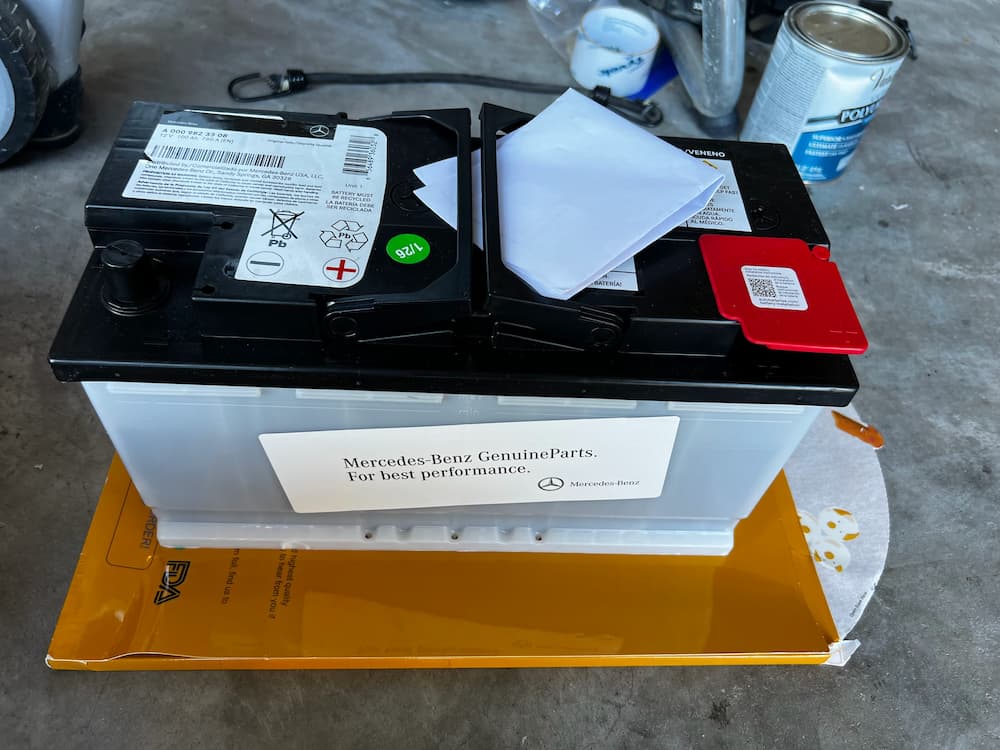
All of the YouTube videos I watched used an aftermarket battery. That’s fine, an Interstate equivalent can be found at Costco for $180. But the OEM battery is more than just OK – mine is going on 8 years old and still going strong. I am just replacing it proactively. The OEM battery is a piece of art.
I couldn’t find it online – only a Bosch S6588B which appears to be the same battery – but its a whopping $400 plus shipping, and not available locally. Then I called the local Mercedes parts department – which I assumed would be similar – and – surprise – a genuine OEM battery was only $240.
Is this battery really any better than the Interstate at Costco? Only time will tell. The warranty is worse – only 2 years – but when I am 100 miles from the nearest auto garage in the middle of nowhere, I’d like to know I bought the very best, and I think this battery is, if its anything like the one that came installed in 2018.
The install is actually quite easy. The battery is located under the drivers feet. You start with this L-Shaped trim with 4 screws:
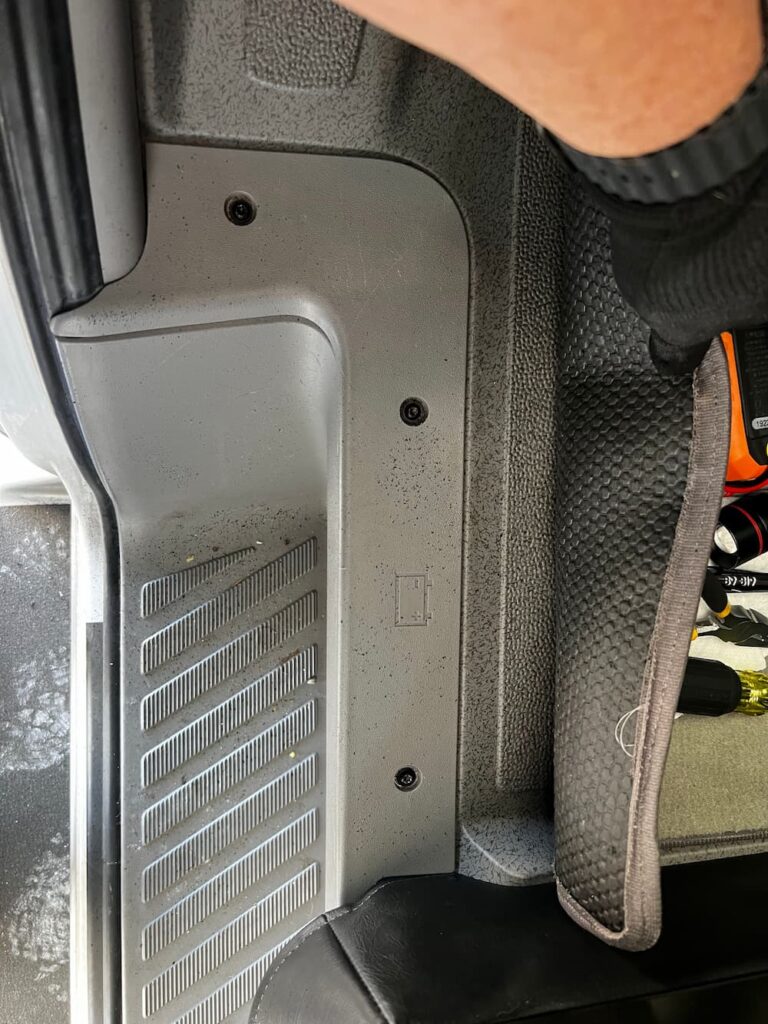
Remove it. You will use a T-25 screw bit. Next, fold back the carpet and remove the plastic underlay. Finally there is a black metal panel on the floor with 4 screws. Remove that.
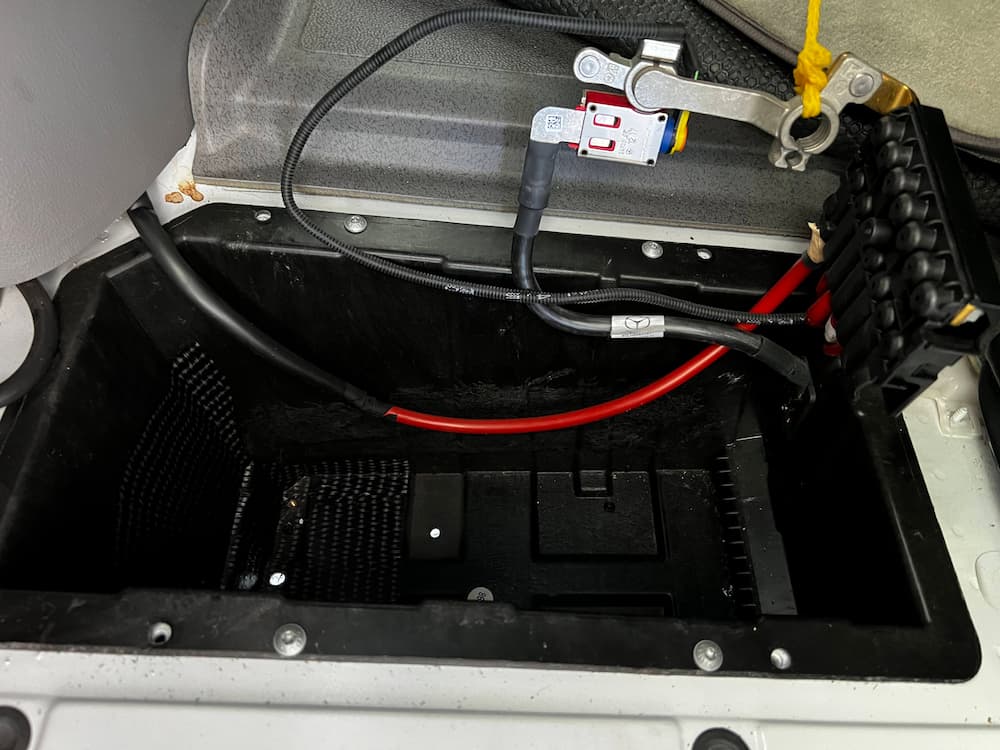
This will expose the battery: There is a red safety cover on the positive, which I removed:
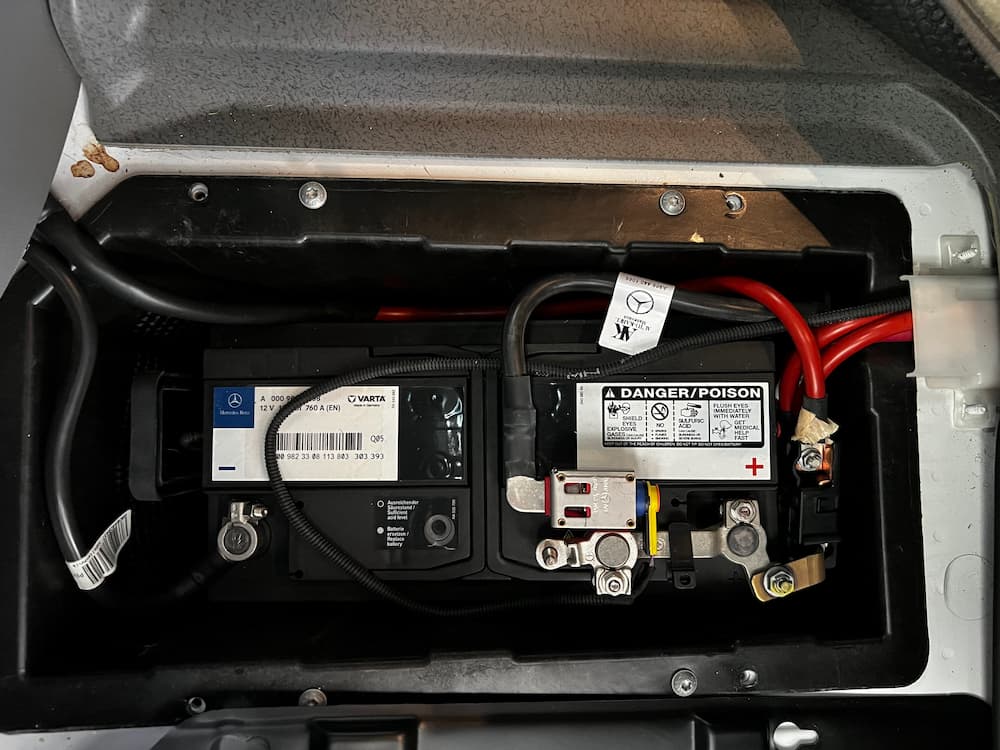
It looks complex, but you will only be removing the two posts just like any car battery. You wont be disassembling anything.
Before going any further, remove the ground bolt from under the driver pedal for safety. As an additional safety measure I flipped the breaker on my DC-DC charger so the battery is not getting any reverse feed, To be extra safe unplug the RV from AC.
On the left side note there is a vent tube, Pop that off. Then, using a 10 mm socket with an extension, there are two bolts holding down the battery on either side of the tube. Using a flashlight here helps. Remove the plastic hold down assembly.
Then remove the negative battery lug using the same 10 mm socket. I always treat everything as hot, so I placed the negative lug in the plastic red container to avoid letting it touch metal and become grounded.
Finally, remove the positive lug. Its connected to a plastic power distribution box, but there is enough slack to pull the whole box out. After I did that, I tied it back so it would stay safely out f my way and also, avoid any metal conductors. (Again, pretend its hot. Maybe you forgot something).
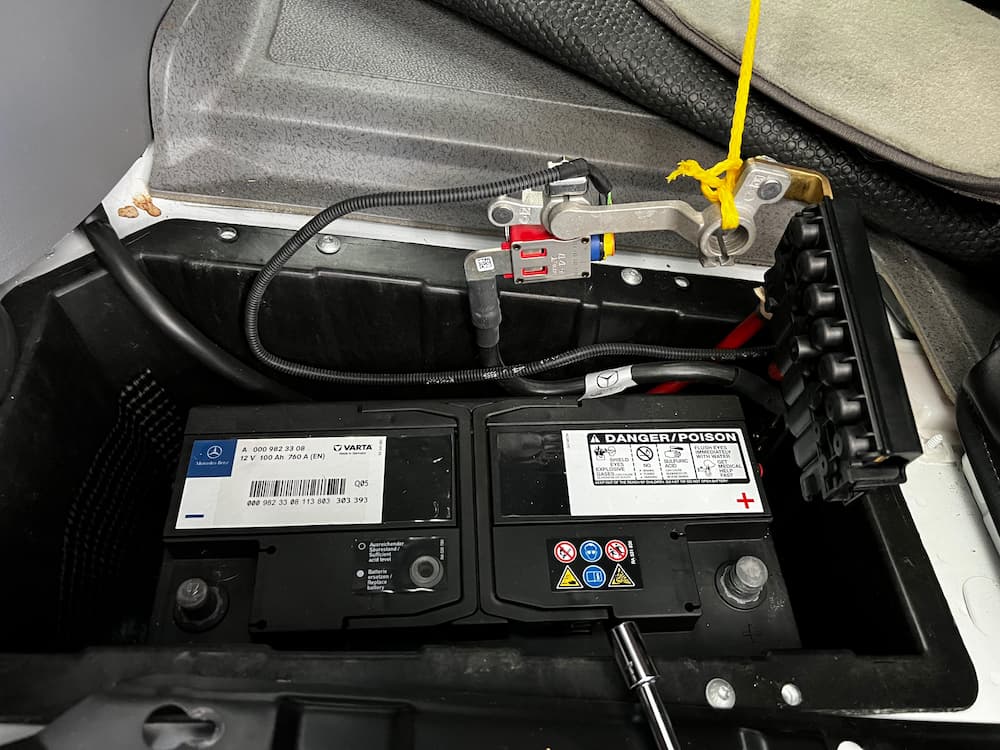
As you can see this leaves easy access in case you don’t have a helper. From here you can open the handles on the top and remove the battery, leaving an empty compartment.
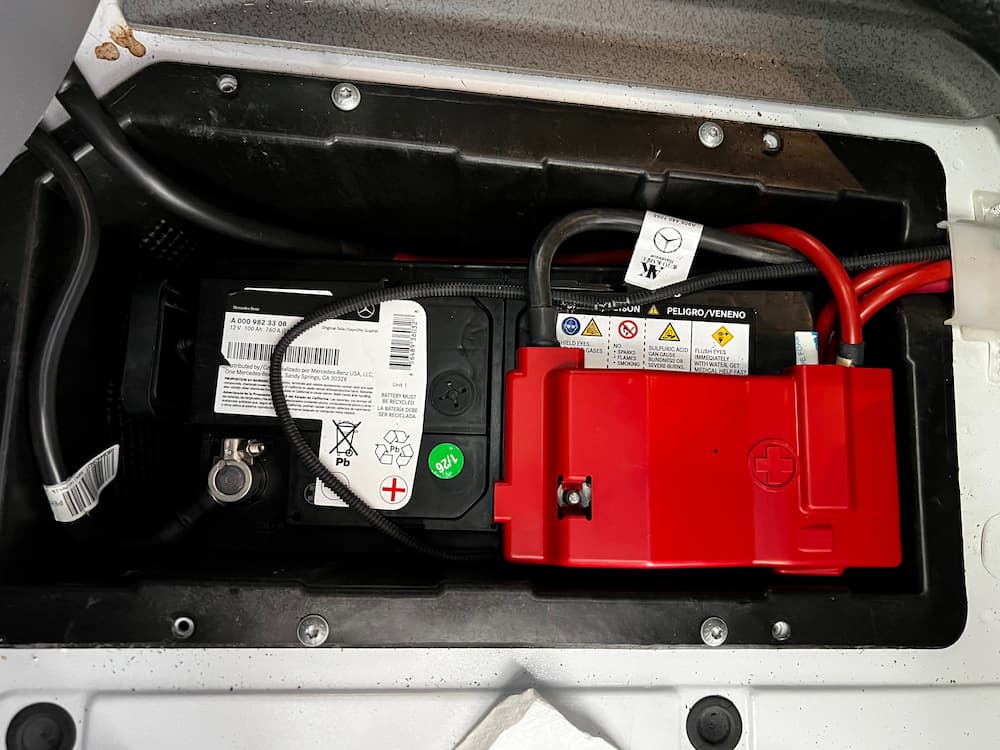
Before replacing the new battery, be certain to perform a crucial step! Remove the right side (positive) vent plug from the old battery, and place it on the new one. This is important because otherwise you could potentially be venting the battery (explosive and poisonous) gasses into the passenger compartment. You only want one vent on the left side, which is vented outside through the tube.
Then drop in your new battery. For safety connect the positive side first. Be sure to not over-tighten. I believe about 50–70 in-lbs (approximately 4.2 to 5.8 ft-lbs or 5.6–7.9 Nm) is correct, which is not a lot.
The negative next, and then reinstall the positive side cover plate:
That is pretty much it! Reinstall the covers and enjoy the savings. Mercedes charges $600 in my area.
Leave a Reply